You might be thinking why Apple chooses to name its new os to Catalina. Then this post is only for you we have covered full details about this in this post. The history of OS X naming goes all the way back to 2001. The first official version of OS X was dubbed “Cheetah.” Then, until 2012, each following operating system was named after another fast and agile cat. The last feline-named version of Apple’s Mac operating system was Mountain Lion.
Then in 2013, Apple made a change. OS X 10.9, instead of representing yet another cat-like species, was instead dubbed Mavericks. At its unveiling, Craig Federighi told the audience the operating systems to come would be named after well-known California locations. Of course, Mavericks is a favorite surfing spot in Northern California.
Apple didn’t provide a formal reason for why it chose El Capitan, but the rock formation is considered an important California landmark. Hikers know it well, and it’s even considered one of the best places in the world for rock climbing and base jumping. Like Mavericks, it’s a destination for agile and daredevil-ing sports enthusiasts.

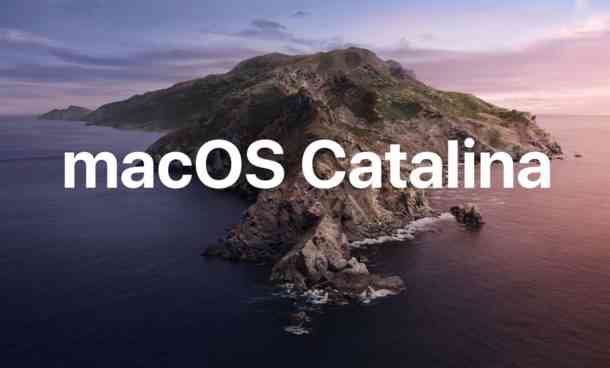
Why is macOS 10.15 called “Catalina”?
It follows a string of California landmarks used as codenames.
- Yosemite
- Sierra
- High Sierra
- El Capitan
- Mojave
- Catalina
Catalina Island is an island located off the coast of Los Angeles.