Some browsers and devices store website location data in your system for quicker access to the DNS Cache. DNS Cache needs to be flushed to remove stored website location details. Here are some of the common ways to flush your DNS cache.

DNS, or a Domain Name System, is primarily what resolves website names into their respective IP addresses. So, if you are encountering an issue on your Mac where the name server is not resolving properly, or if you want a DNS change to be noticed by your system, you might have to reset and flush the DNS cache in macOS Catalina. This can also come in handy if you have made edits to your /etc/hosts file, and you want the changes to register without having to reboot your Mac. So, if you want to reset and flush the DNS cache on your Mac os Catalina, follow below steps to know how to do it.
Reset and Flush/Clear DNS Cache in macOS Catalina
The process to reset and flush or clear DNS cache in macOS Catalina is actually very easy. All it requires is for you to enter one command in the Terminal, and you’re done. Well, technically, it’s two commands in one line. If you want to flush DNS cache on a Mac, simply follow the steps below:
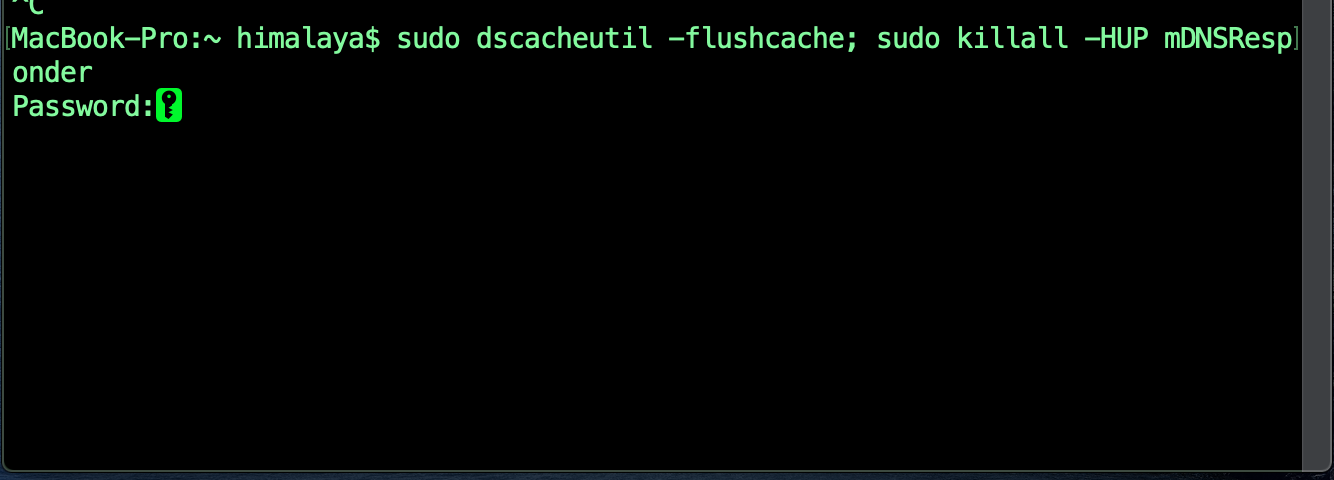
1. Launch Terminal, and type below command first.
sudo dscacheutil -flushcache; sudo killall -HUP mDNSResponder2. Then it will ask to enter a password. Enter your Mac login password and hit Enter.
3. If everything goes right then you have successfully reset, and flushed the DNS cache on macOS Catalina. If you were encountering any issues with name servers, and such, they should now get resolved. You can try and do a “dig“, or an “nslookup” on a website you want, to see if your DNS issues have resolved.
Reset and Flush DNS Cache DNS Issues [Fixed]
You can reset and clear DNS cache in macOS Catalina to fix most DNS issues that you might be facing. The method mentioned in the article works for Mac OS X 10.10, and even on macOS Catalina. If you face any issues with the commands I mentioned, feel free to let me know in the comments section down below.