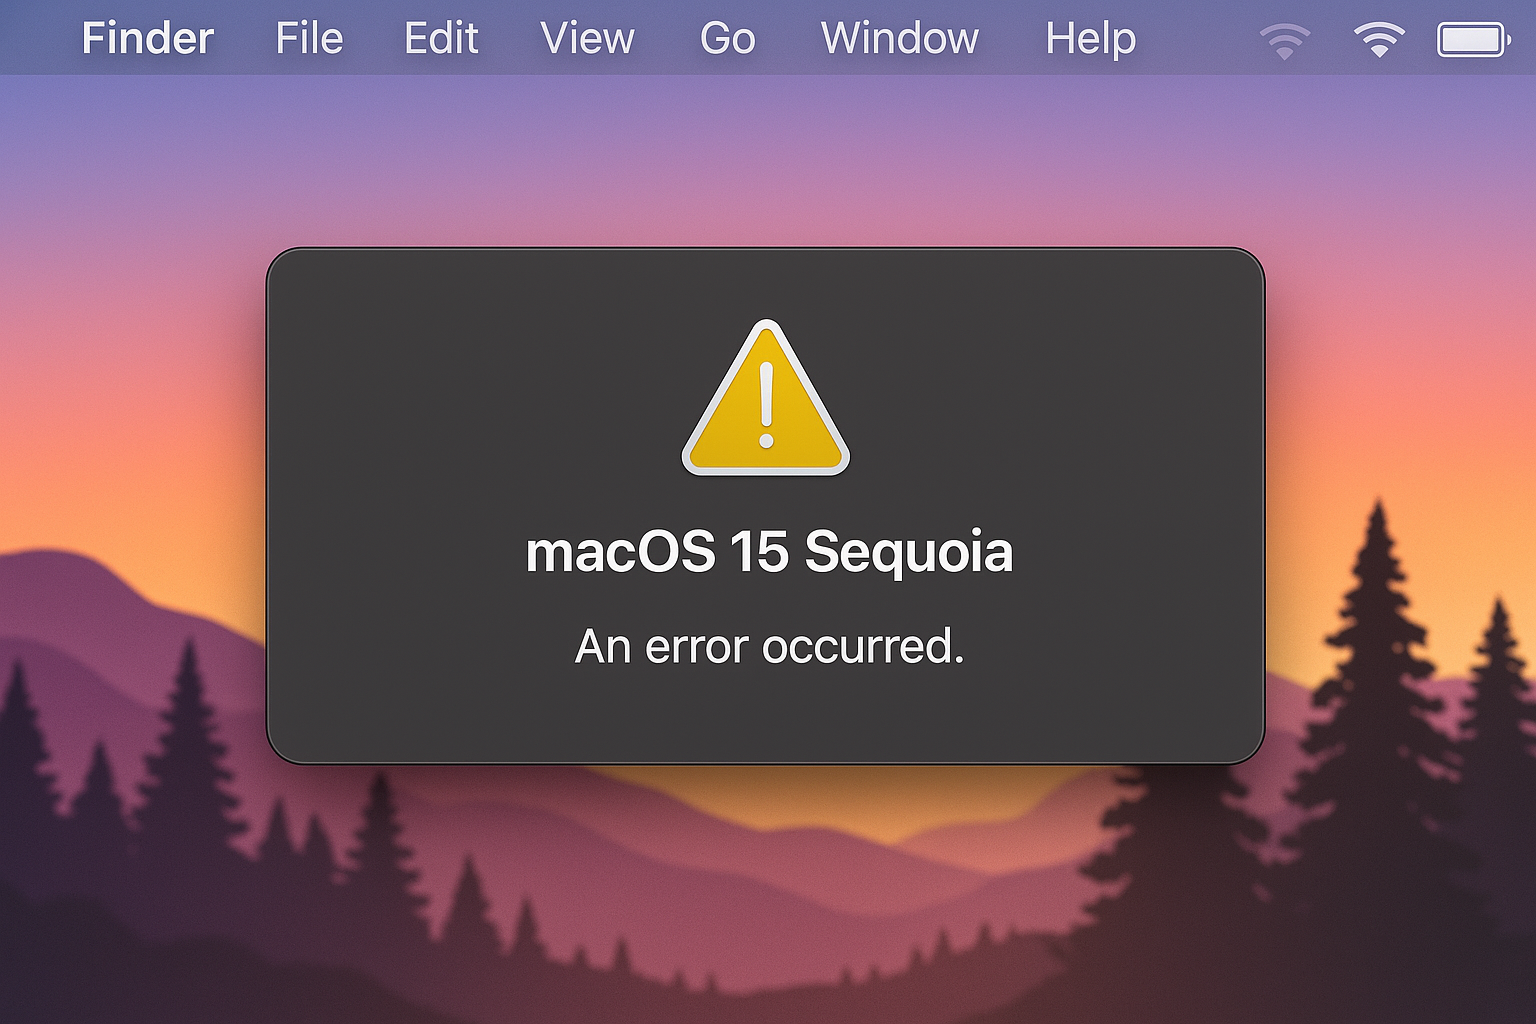
Is your Mac lagging or freezing while running macOS 15 Sequoia? Have you noticed it slowing down or behaving inconsistently since updating? Today, we’ll look into the latest version of macOS—macOS 15 Sequoia—and explore why it might be slowing down your system. While Sequoia brings several performance and security improvements, many users have reported issues with speed and responsiveness after installing it. Some of the most anticipated features—like enhanced AI tools, better multitasking, and tighter ecosystem integration—require significant system resources. That means not all Macs will handle the update equally well.
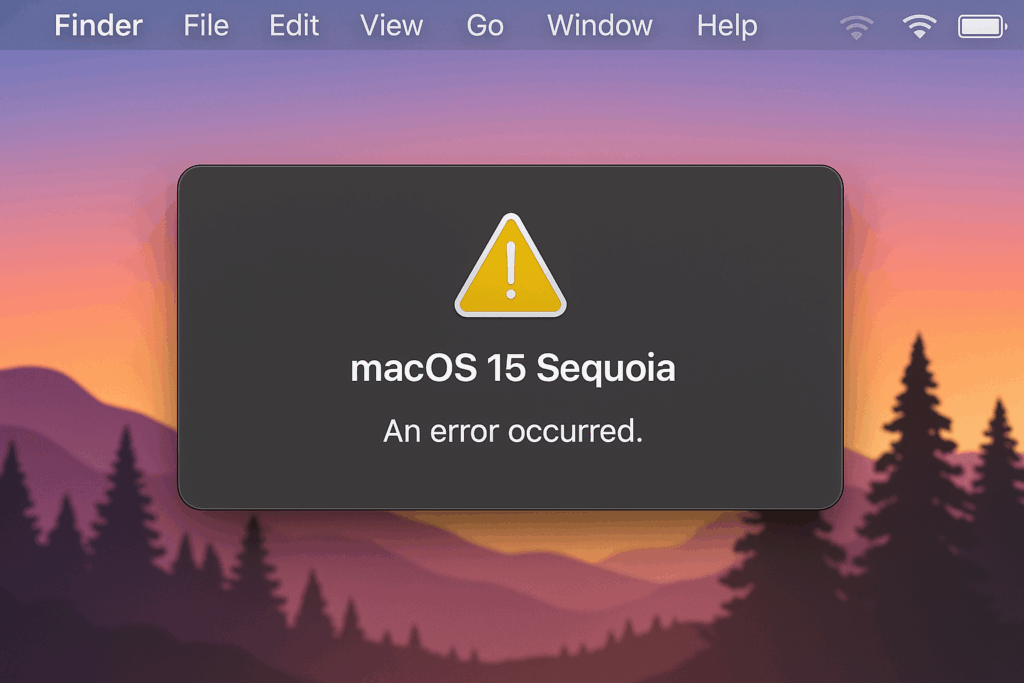
One of the first things to check is whether your Mac model is fully compatible with macOS Sequoia. If your device is older or near the cutoff for supported models, it might struggle to keep up with the demands of the new OS. In that case, disabling some of the newer features could help improve performance. However, if your Mac is supported and you’re still facing slowdowns, don’t worry—there are several steps you can take to troubleshoot and speed things up. In this guide, we’ll walk through the common causes of lag in macOS 15 Sequoia and provide practical solutions to restore smooth performance.
Top 15 Common macOS 15 Sequoia Issues and Their Solutions
1. System Slowdowns Post-Update
Symptoms: Lagging performance, delayed application launches, and unresponsive system behavior.
Solution:
- Restart Your Mac: A simple restart can clear temporary glitches.
- Check Storage Space: Navigate to Apple Menu > System Settings > General > Storage to ensure sufficient free space.
- Clear Cache Files: Use Finder to access
~/Library/Caches/and delete unnecessary files. - Manage Startup Items: Go to System Settings > General > Login Items and disable unneeded startup applications.
2. Installation Failures
Symptoms: Installation process freezes or fails to complete.
Solution:
- Stable Internet Connection: Ensure a reliable internet connection during the download and installation process.
- Check Apple’s System Status: Verify that Apple’s servers are operational by visiting their System Status page.
- Safe Mode Installation: Restart your Mac in Safe Mode and attempt the installation again.
3. Application Crashes
Symptoms: Frequent crashing of third-party applications post-update.
Solution:
- Update Applications: Ensure all applications are updated to their latest versions compatible with macOS Sequoia.
- Reinstall Problematic Apps: Uninstall and reinstall applications that continue to crash.
- Contact Developers: Reach out to application developers for updates or patches addressing compatibility issues. Adobe Community
4. Network Connectivity Issues
Symptoms: Unstable Wi-Fi connections, slow internet speeds, or inability to connect to networks.
Solution:
- Disable Ethernet: If using both Wi-Fi and Ethernet, unplug the Ethernet cable to improve stability.
- Adjust Wi-Fi Settings: Turn off “Limit IP address tracking” in System Settings > Network > Wi-Fi > Details.
- Reset Network Settings: Remove and re-add Wi-Fi networks to reset configurations.
5. Overheating Issues
Symptoms: Mac becomes unusually hot, fans run continuously, or system shuts down unexpectedly.
Solution:
- Clean Internal Components: Remove dust from fans and vents to improve airflow.
- Monitor CPU Usage: Use Activity Monitor to identify and close resource-intensive processes.
- Use Cooling Pads: Employ external cooling solutions to maintain optimal temperatures.
6. Bluetooth and Peripheral Connectivity Problems
Symptoms: Inability to connect Bluetooth devices or peripherals not recognized.
Solution:
- Reset Bluetooth Module: Hold Shift + Option and click the Bluetooth icon in the menu bar, then select “Reset the Bluetooth module.”
- Remove and Re-pair Devices: Delete existing Bluetooth pairings and reconnect devices.
- Update Device Firmware: Ensure peripheral devices have the latest firmware updates.
7. Security Prompt Fatigue
Symptoms: Frequent security pop-ups requesting permissions, leading to user frustration.
Solution:
- Adjust Security Settings: Navigate to System Settings > Privacy & Security and modify app permissions to reduce prompts.
- Provide Feedback to Apple: Use the Feedback Assistant to report excessive prompts and suggest improvements. Lifewire
8. Compatibility Issues with Security Software
Symptoms: Third-party security applications malfunction or cause system instability.
Solution:
- Update Security Software: Ensure all security applications are updated to versions compatible with macOS Sequoia.
- Contact Software Support: Reach out to the software providers for patches or guidance.
- Use Built-in Security Features: Consider relying on macOS’s built-in security tools if third-party software remains incompatible.
9. Battery Drain Issues
Symptoms: Rapid battery depletion, even during minimal usage.
Solution:
- Enable Low Power Mode: Go to System Settings > Battery and activate Low Power Mode.
- Check Battery Health: In System Settings > Battery > Battery Health, assess the battery’s condition.
- Manage Background Activities: Limit background app refresh and close unnecessary applications.
10. Display and Resolution Problems
Symptoms: Screen flickering, incorrect resolution settings, or external displays not recognized.
Solution:
- Reset NVRAM/PRAM: Shut down your Mac, then turn it on and immediately press and hold Option + Command + P + R for about 20 seconds.
- Check Display Settings: Navigate to System Settings > Displays to adjust resolution and arrangement.
- Update Display Drivers: Ensure any external display drivers are up to date,
11. Time Machine Backup Failures
Symptoms: Inability to complete backups or Time Machine not recognizing backup disks.
Solution:
- Re-select Backup Disk: In System Settings > Time Machine, remove and re-add the backup disk.
- Check Disk Format: Ensure the backup disk is formatted correctly (APFS or Mac OS Extended).
- Run Disk Utility: Use Disk Utility to verify and repair the backup disk.Apple Support Community
12. iCloud Syncing Issues
Symptoms: Files not syncing across devices, or iCloud Drive not updating.
Solution:
- Sign Out and Back In: Log out of iCloud in System Settings > Apple ID, then sign back in.
- Check iCloud Storage: Ensure you have sufficient iCloud storage space.
- Enable iCloud Drive: Verify that iCloud Drive is turned on in System Settings > Apple ID > iCloud.
13. Keyboard and Input Lag
Symptoms: Delayed keyboard response or unresponsive input devices.
Solution:
- Reset SMC: Shut down your Mac, unplug the power cord, wait 15 seconds, plug it back in, wait 5 seconds, then turn on your Mac.
- Update Input Device Firmware: Check for firmware updates for your keyboard or input devices.
- Test in Safe Mode: Restart your Mac in Safe Mode to determine if third-party software is causing the issue.
14. Frequent Kernel Panics
Symptoms: Unexpected system restarts accompanied by a kernel panic message.
Solution:
- Check for Hardware Issues: Run Apple Diagnostics to identify potential hardware problems.
- Update macOS: Ensure your system is running the latest version of macOS Sequoia.
- Review Panic Logs: Use Console to examine panic logs and identify recurring issues.
15. Downgrade Challenges
Symptoms: Difficulty reverting to a previous macOS version after encountering issues with Sequoia.
Solution:
- Create a Bootable Installer: Use another Mac to download the desired macOS version and create a bootable USB installer.
- Erase and Reinstall: Boot from the installer, erase your disk using Disk Utility, and reinstall the previous macOS version.
- Restore from Backup: Use Time Machine or other backup solutions to restore your data. Apple Support Community
By addressing these common issues with the provided solutions, you can enhance your macOS Sequoia experience and ensure your Mac operates smoothly. If problems persist, consider reaching out to Apple Support or visiting an Apple Authorized Service Provider for further assistance.

